1. Setup Conda
1.1 Install Conda
Refer to the official Miniconda Installation Guide if needed.
Download the Miniconda Installer: Miniconda3-Latest-Windows
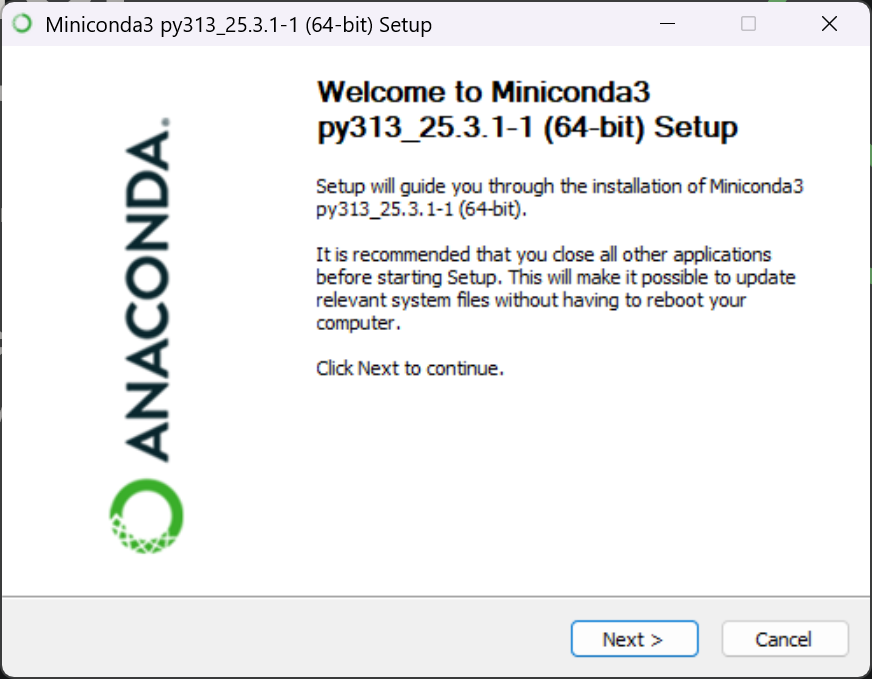
- Open the Installer, you should be greeted with this interface:
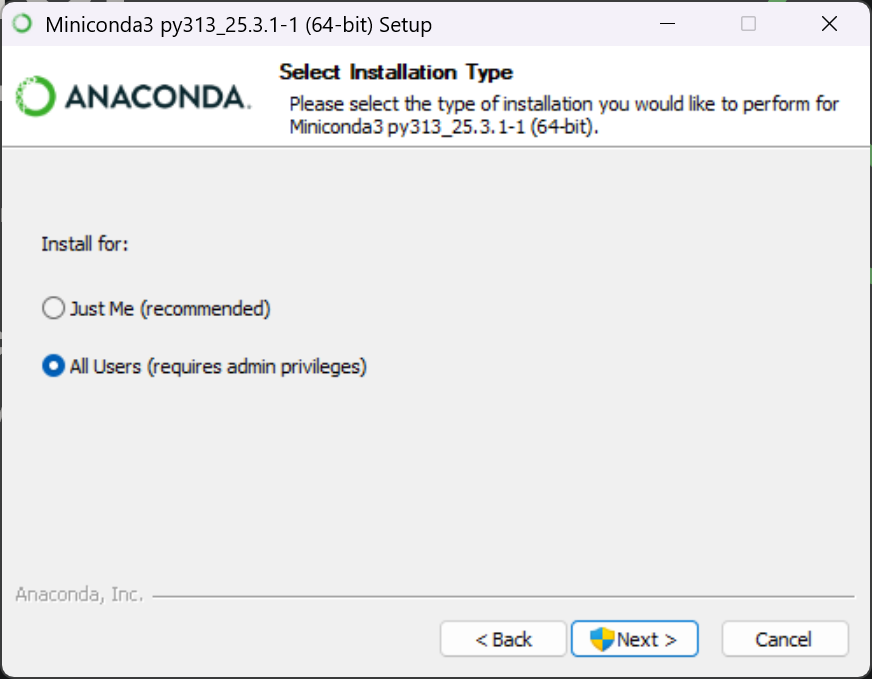
2. Keep everything default until you reach this page. SELECT All Users (require admin privileges) and select allow for the privilege system prompt.
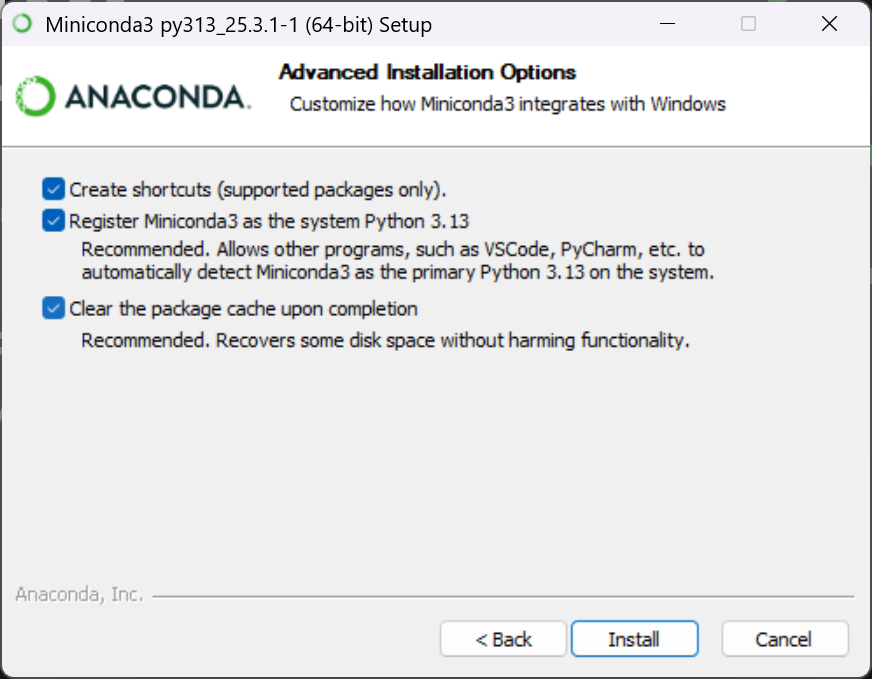
3. Keep everything default until you reach this page. Select all three options and click Install on the lower right corner.
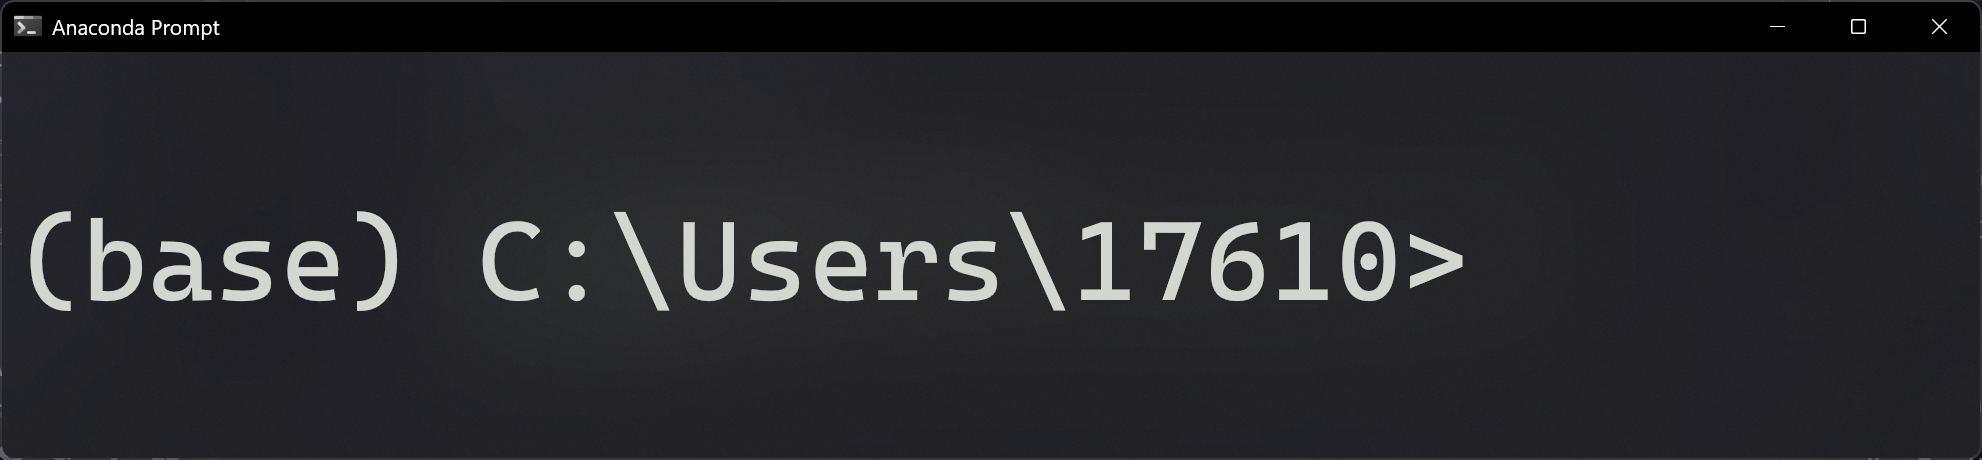
4. Now your miniconda is installed, press Windows Key and type in Anaconda Prompt. Open the first option, it should look something like this(retry the installer or reboot if you don't see this):

5. After opening it, you should be greeted by this:
- Run the following commands in this window to initialise conda environment. You should be able to see a list files (path) that have been updated by conda.
> conda init
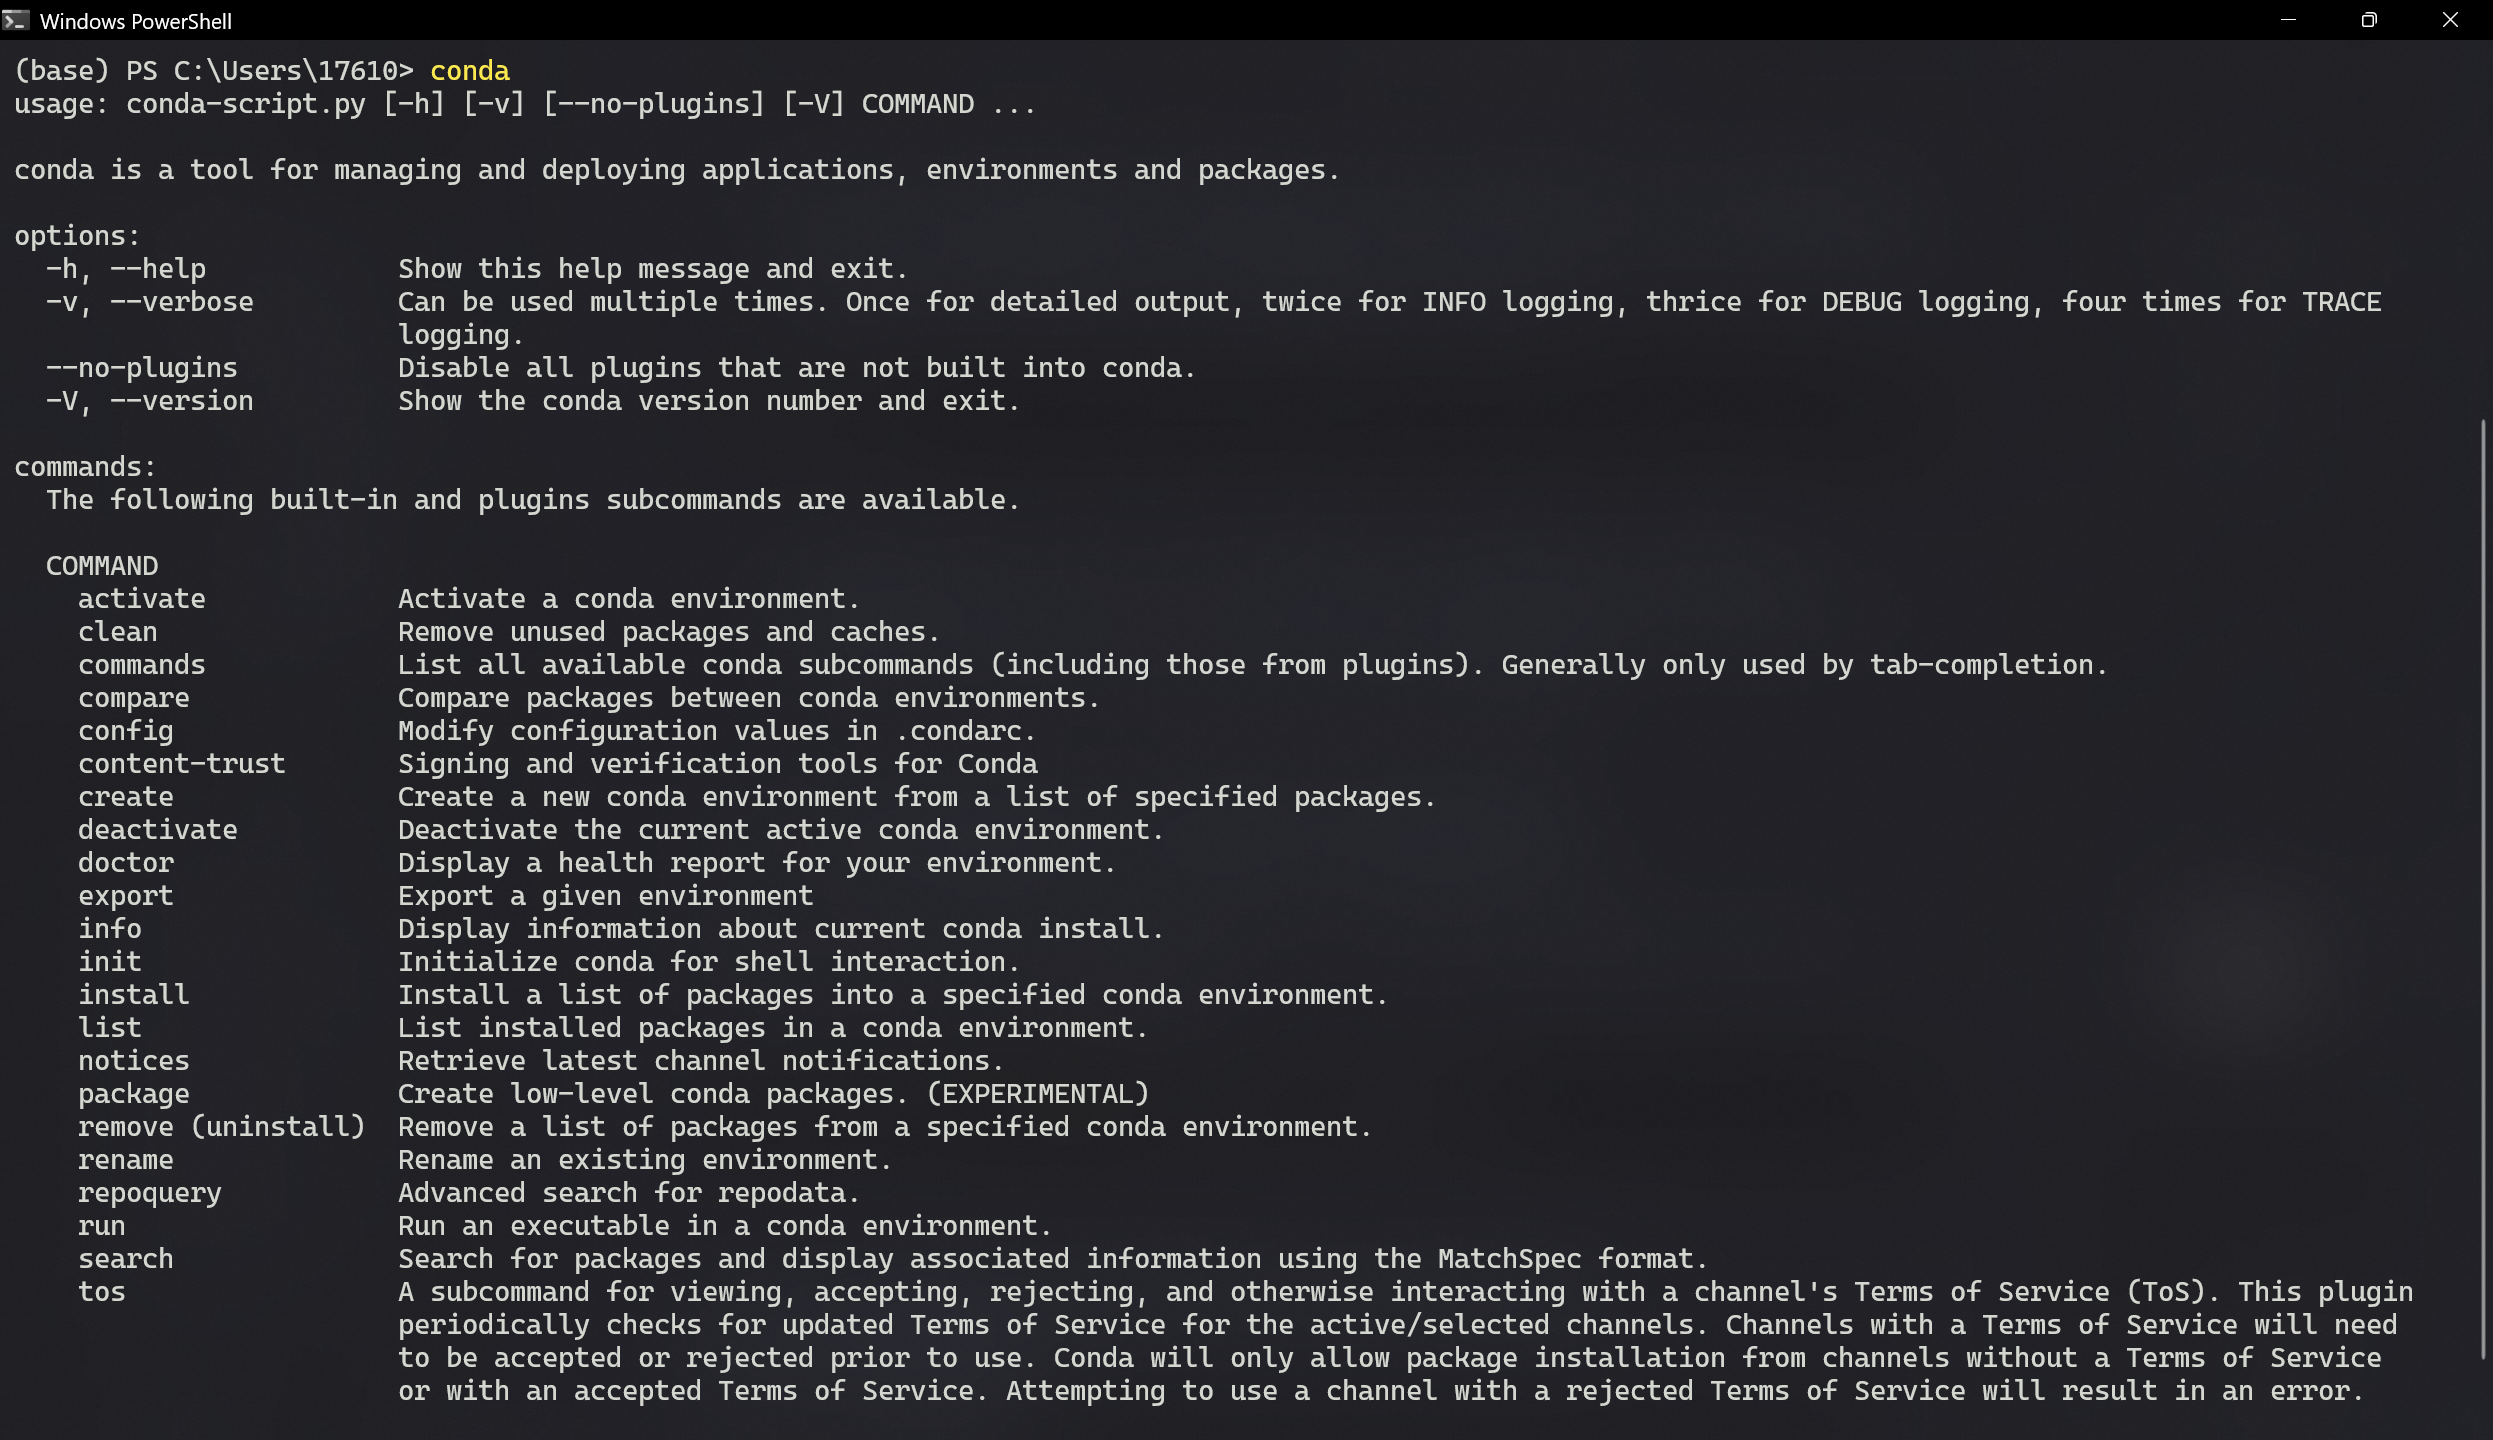
- Verify your conda environment by opening a Windows Powershell type
conda. If your environment is good, you should see conda usage options displayed like below.
1.2 Configure Conda Channels
Add the conda-forge channel for reliable package versions (copy and run in Windows Powershell):
> conda config --prepend channels conda-forge
1.3 Create and Set Up Virtual Environment
- Set up new conda environment and install Mujoco(copy and run in Windows Powershell):
> conda create -n robosuite python=3.10
> conda init --all
> conda activate robosuite
> conda install mujoco
> python -m pip uninstall mujoco
> python -m pip install mujoco
Note: You must run
conda activate robosuiteEVERYTIME you open a new terminal session.
To avoid repeating this, addconda activate robosuiteto your shell configuration file (e.g., ~/.bashrc or ~/.zshrc).
-
Run
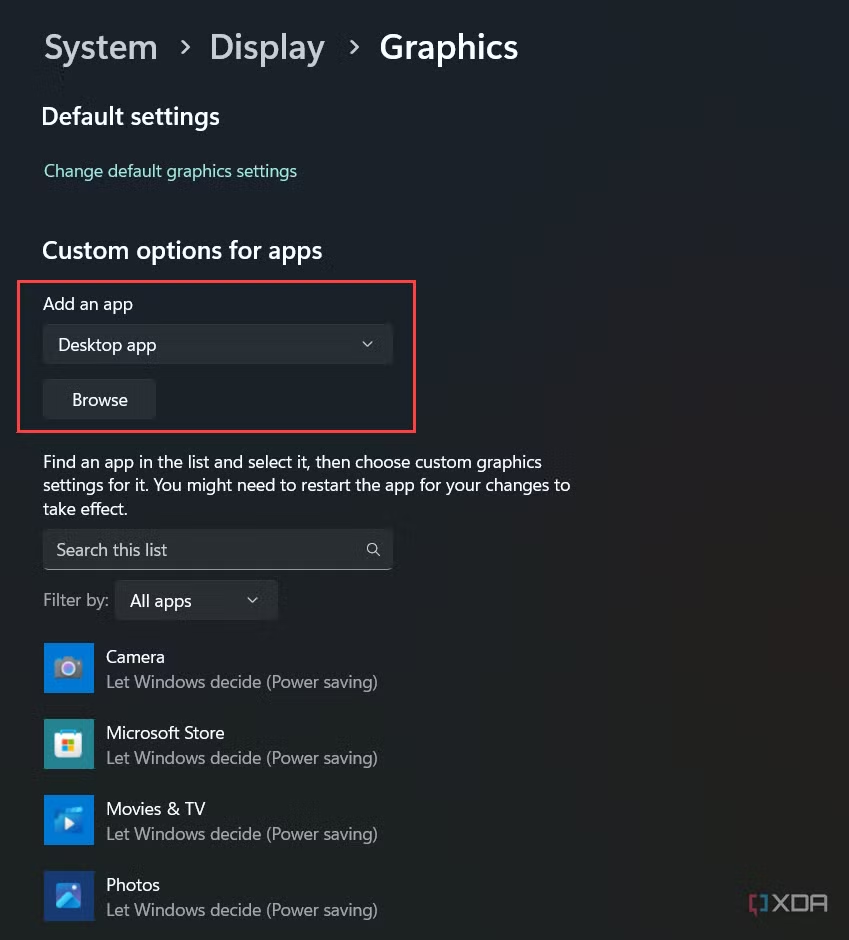
which pythonin your PowerShell to determine the path of your robosuite python. Go toWindows Settings -> System -> Display -> Graphics Cardand select Add Desktop Application. Choose the robosuite python you just found and add it. Set the GPU preference to High Performance (your dedicated GPU).
-
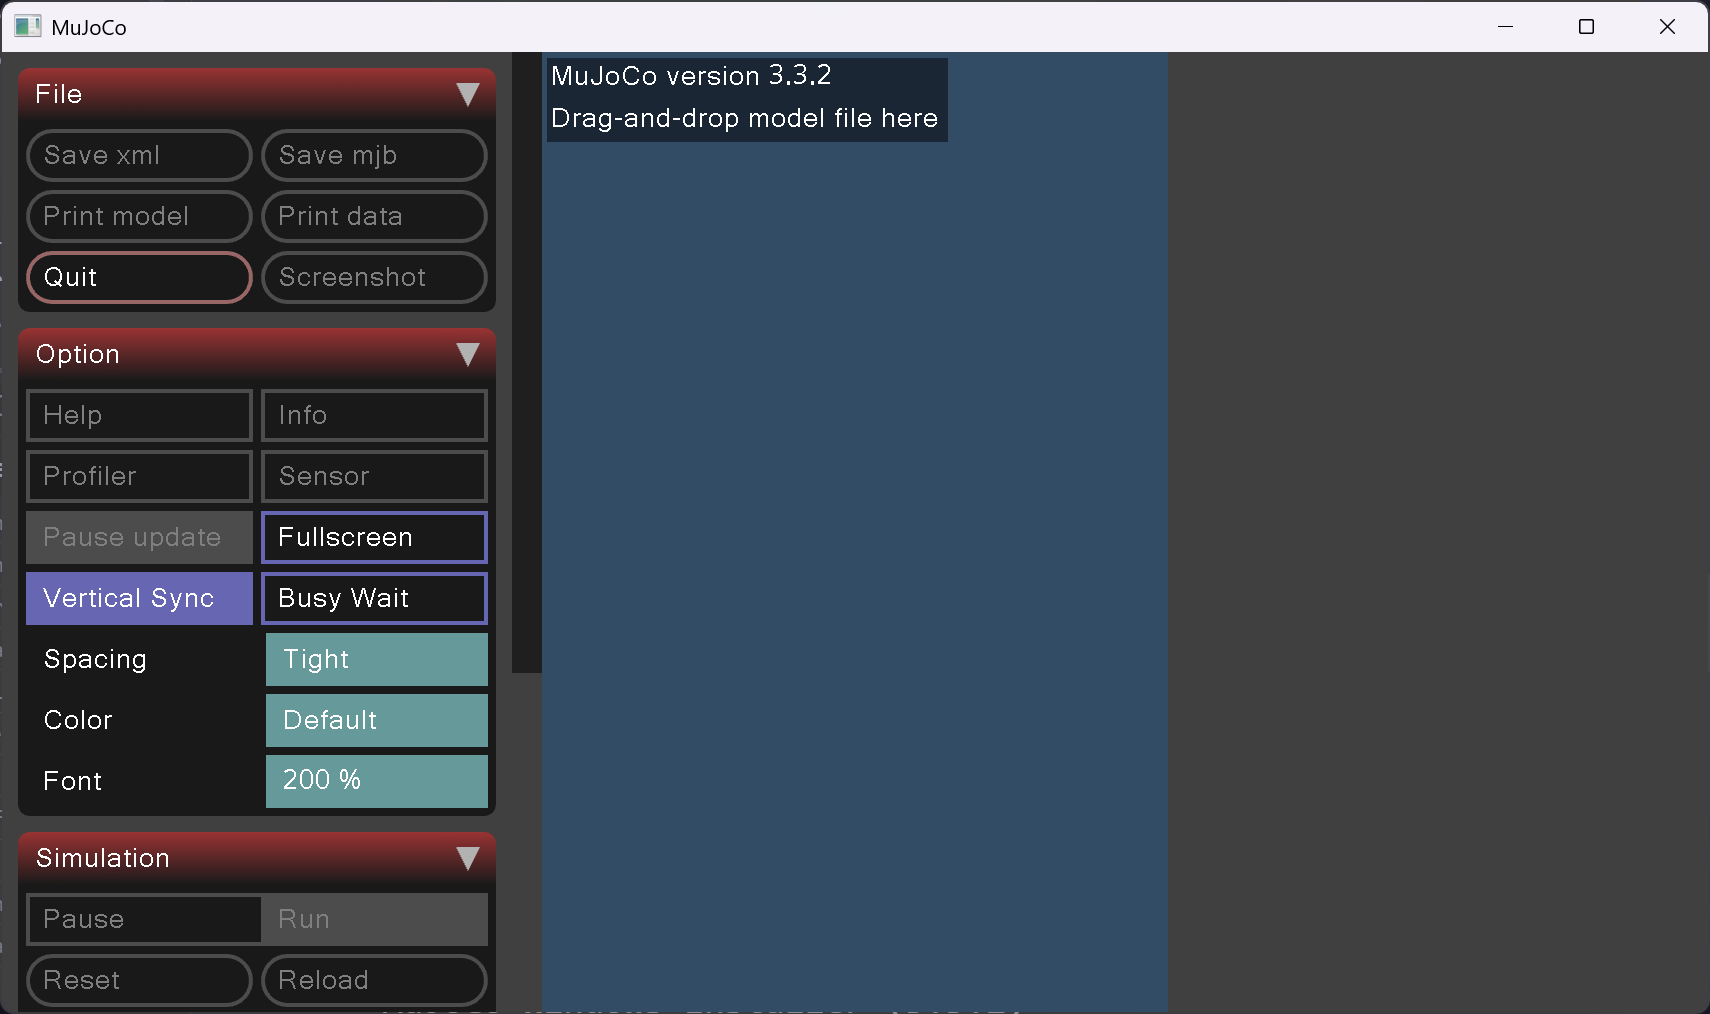
Now run
python -m mujoco.viewerin PowerShell and you should be able to see MuJoCo running.
2. MuJoCo Installation
2.1 Download MuJoCo
-
Download the zip file from MuJoCo Github Release Page: MuJoCo-3.3.2-windows-x86_64.zip
-
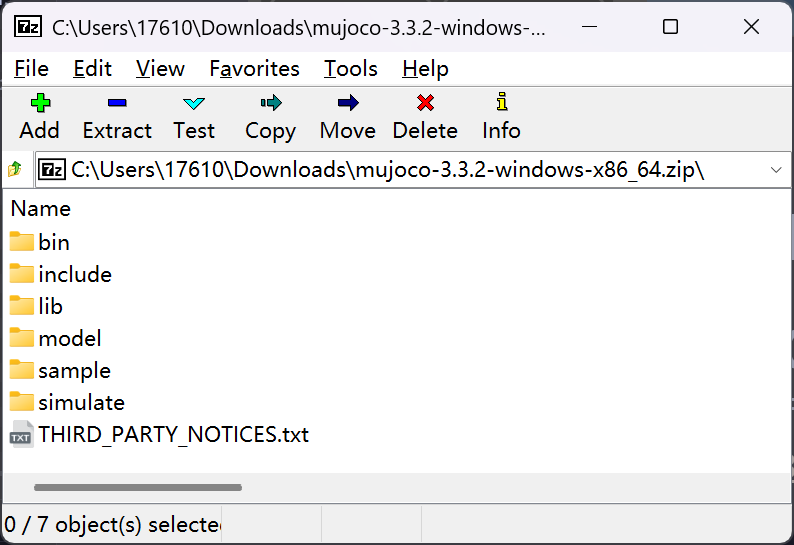
Unzip the archive (which contains the contents in the screenshot below) and move all the extracted contents into a folder called
MuJoCo. Move theMuJoCofolder to a folder of your choice. I will from now on refer to this folder as the working directory.
-
(Similar to 1.3 (Set Graphics Card)) Go to
Windows Settings -> System -> Display -> Graphics Cardand selectAdd Desktop Application. Choose thesimulate.exe(located inMuJoCo-Folder\bin) and add it. Set the GPU preference to High Performance (your dedicated GPU). -
Run
simulate.exefrom\binand MuJoCo should pop up with proper UI. If UI glitches, retry settingsimulate.exeto use your Nvidia dedicated GPU.
2.2 Add MuJoCo to PATH
Add Path-To-Your-Working-Director\MuJoCo\bin to your system environment variables (this tutorial follows this guide online):
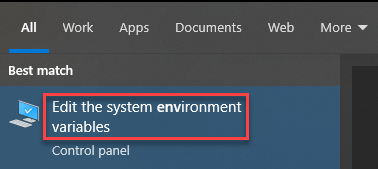
- Press
Windowskey, typeenvand select following option.
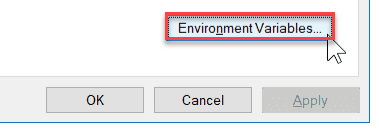
- Click on
Environment Variables…button.
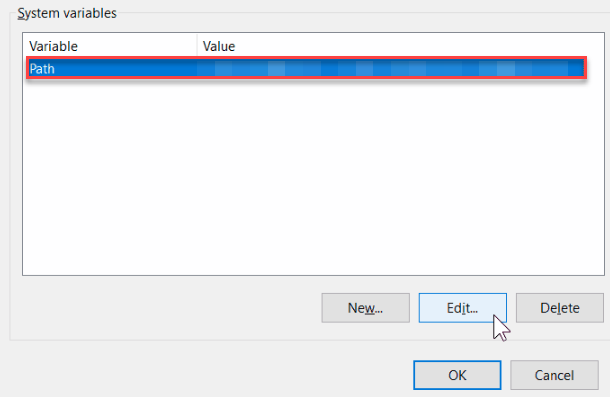
- In the
System Variablessection, locatePath, and clickEdit.
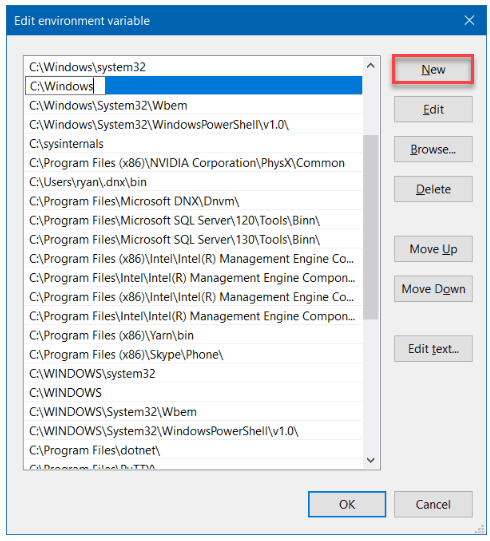
- In the
Edit environment variableUI, clickNewto add the new path. You can also edit or reorder existing paths.
- Dismiss all dialogs by selecting
OK. Your changes are saved.
3. Install Robosuite
This section follows the “Install from Source” method described in the official robosuite documentation.
3.1 Download and Organise Robosuite
-
Download the source code: robosuite v1.5.1 ZIP Archive
-
Unzip the archive and move the extracted contents into a subfolder in your working directory (I named this folder
Robosuite). YourRobosuitefolder should now contain the following structure:

3.2 Install Dependencies
-
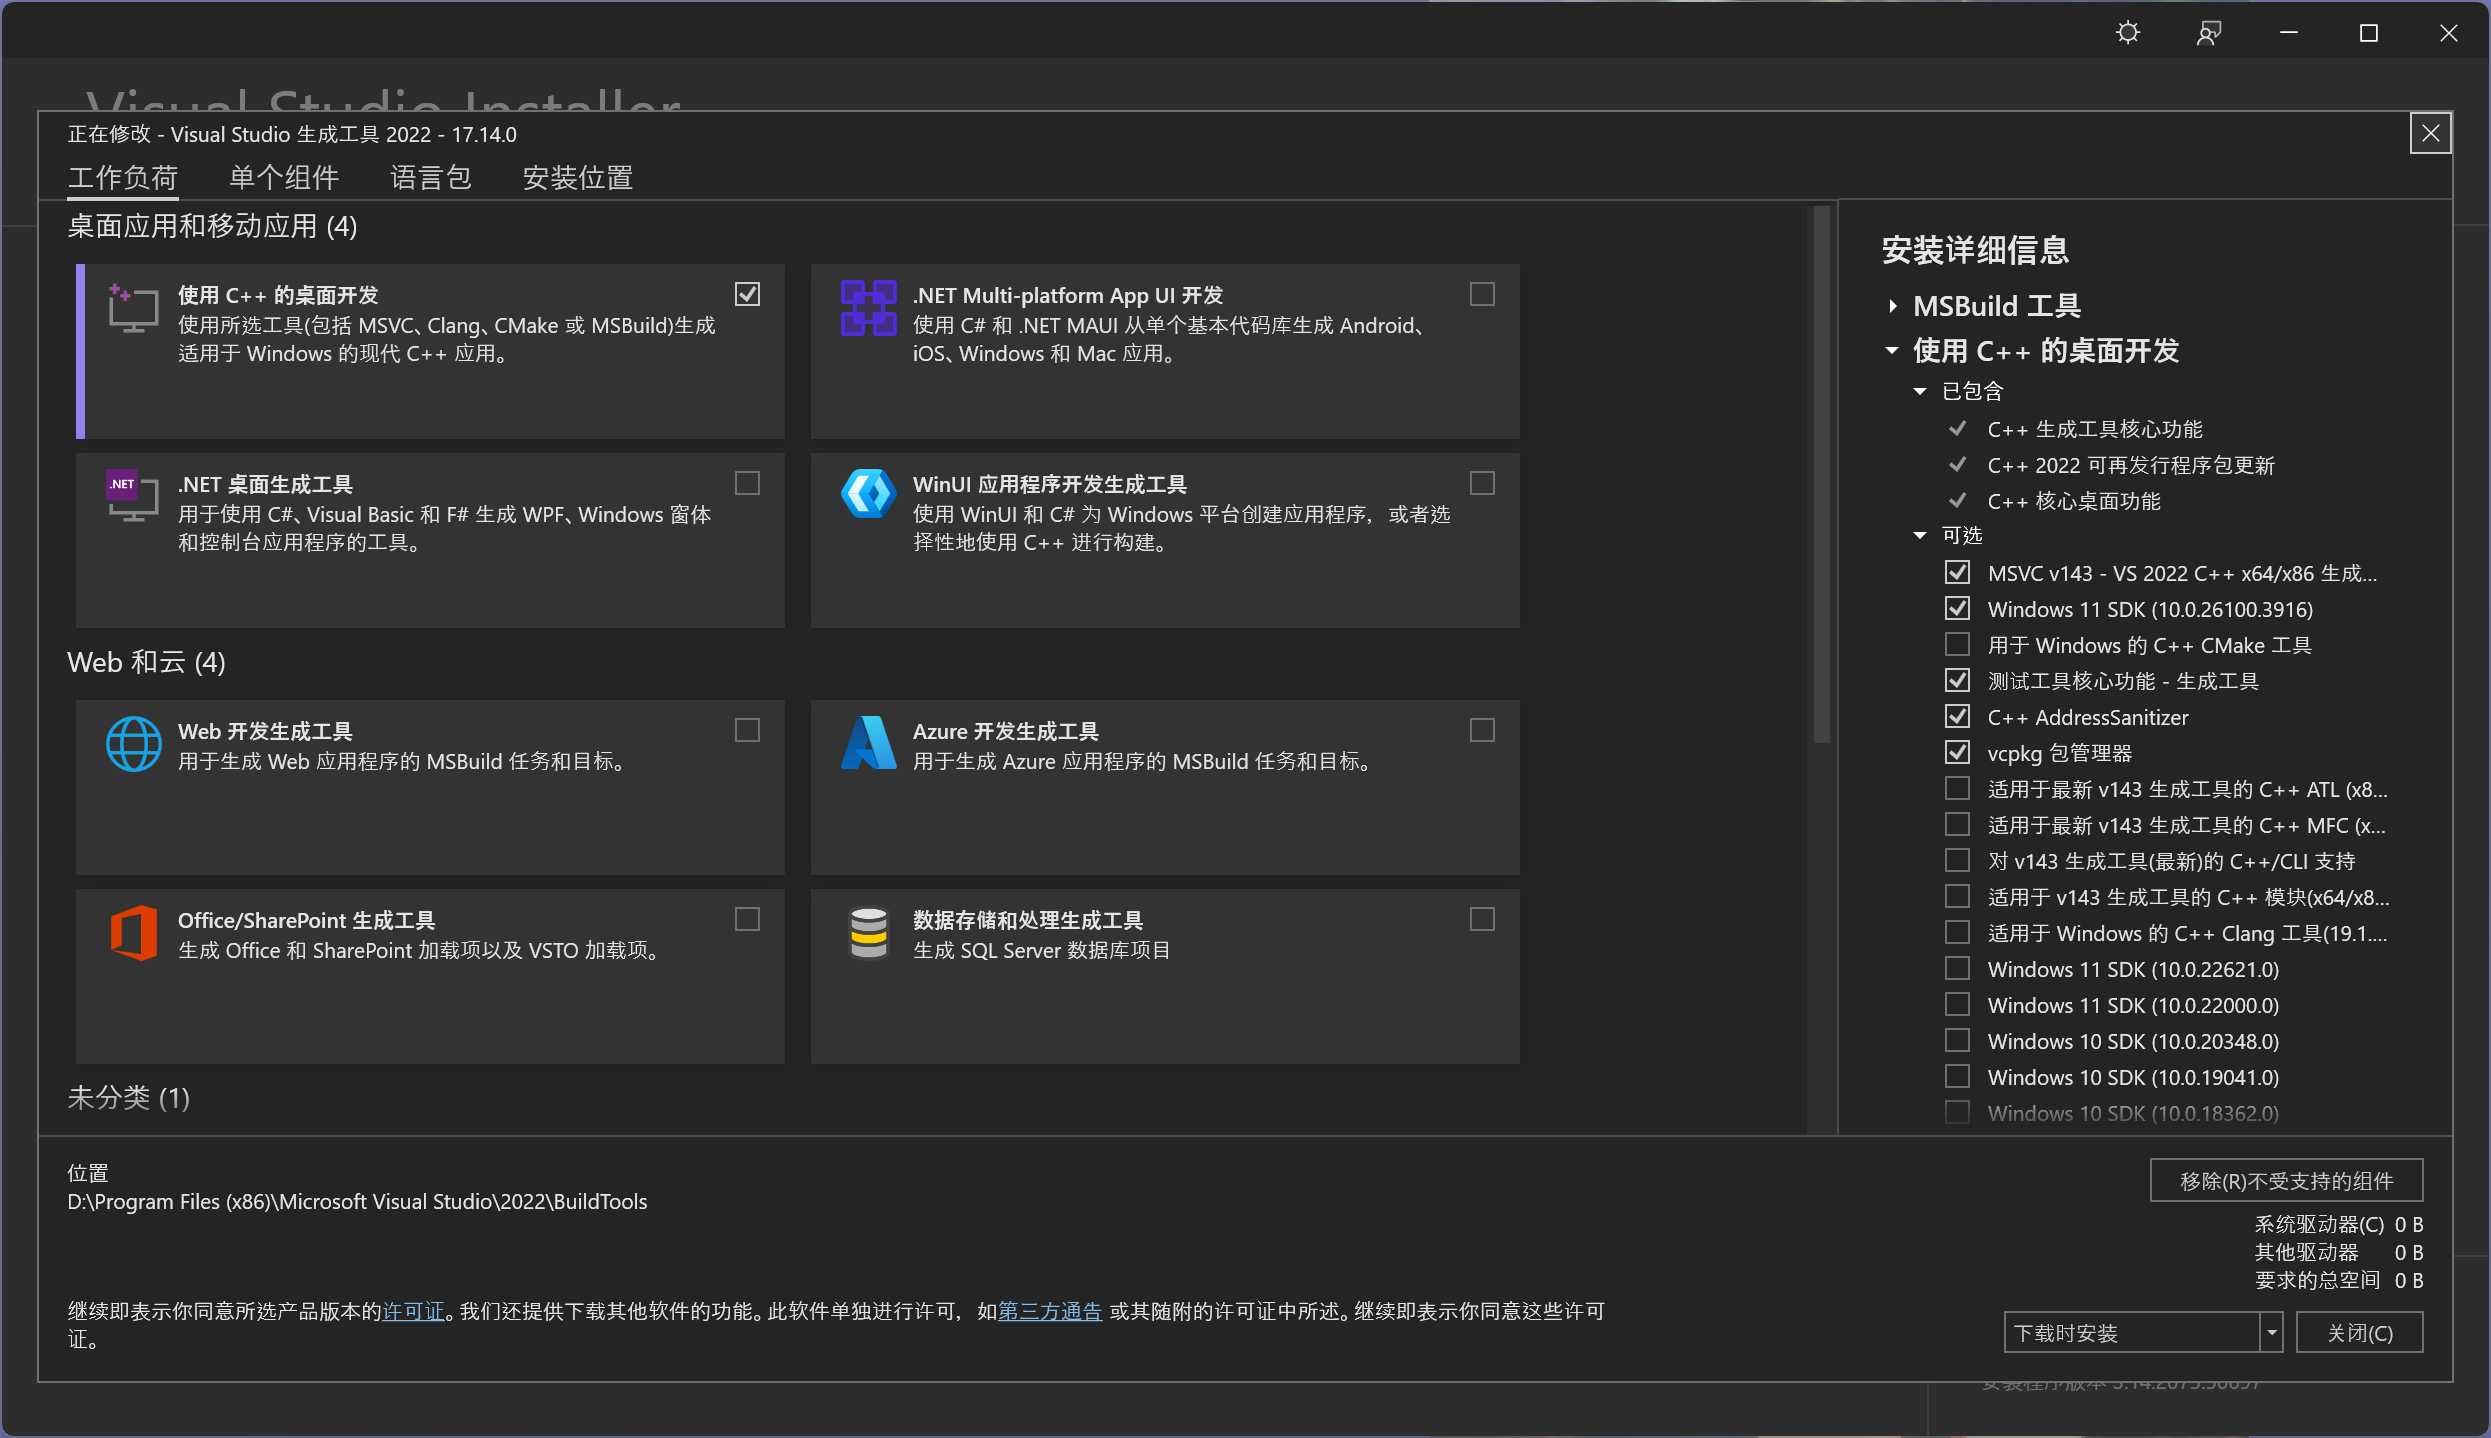
Update your Microsoft Visual C++ to 14.0 or greater. Get it with "Microsoft C++ Build Tools": https://visualstudio.microsoft.com/visual-cpp-build-tools/ (vs_BuildTools.exe)
Install with the following options.
-
Open a PowerShell inside the your
Robosuitefolder directory OR runcd Path-To-Your-Working-Director\Robosuite. Install robosuite dependencies:
> python -m pip install -r requirements.txt
> python -m pip install -r requirements-extra.txt
4. Test Your Environment
To verify the setup, navigate to your working directory and run a demo:
> cd Path-To-Your-Working-Director\Robosuite
> python robosuite/demos/demo_device_control.py --device keyboard
Congratulations! Your environment is now successfully configured.