1. Install Mujoco 3.3.2
1.1 Download DMG Image
Download the .dmg file from the official release page:
MuJoCo macOS Installer (3.3.2)
1.2 Choose Working Directory
After opening the .dmg file, you should see the following:
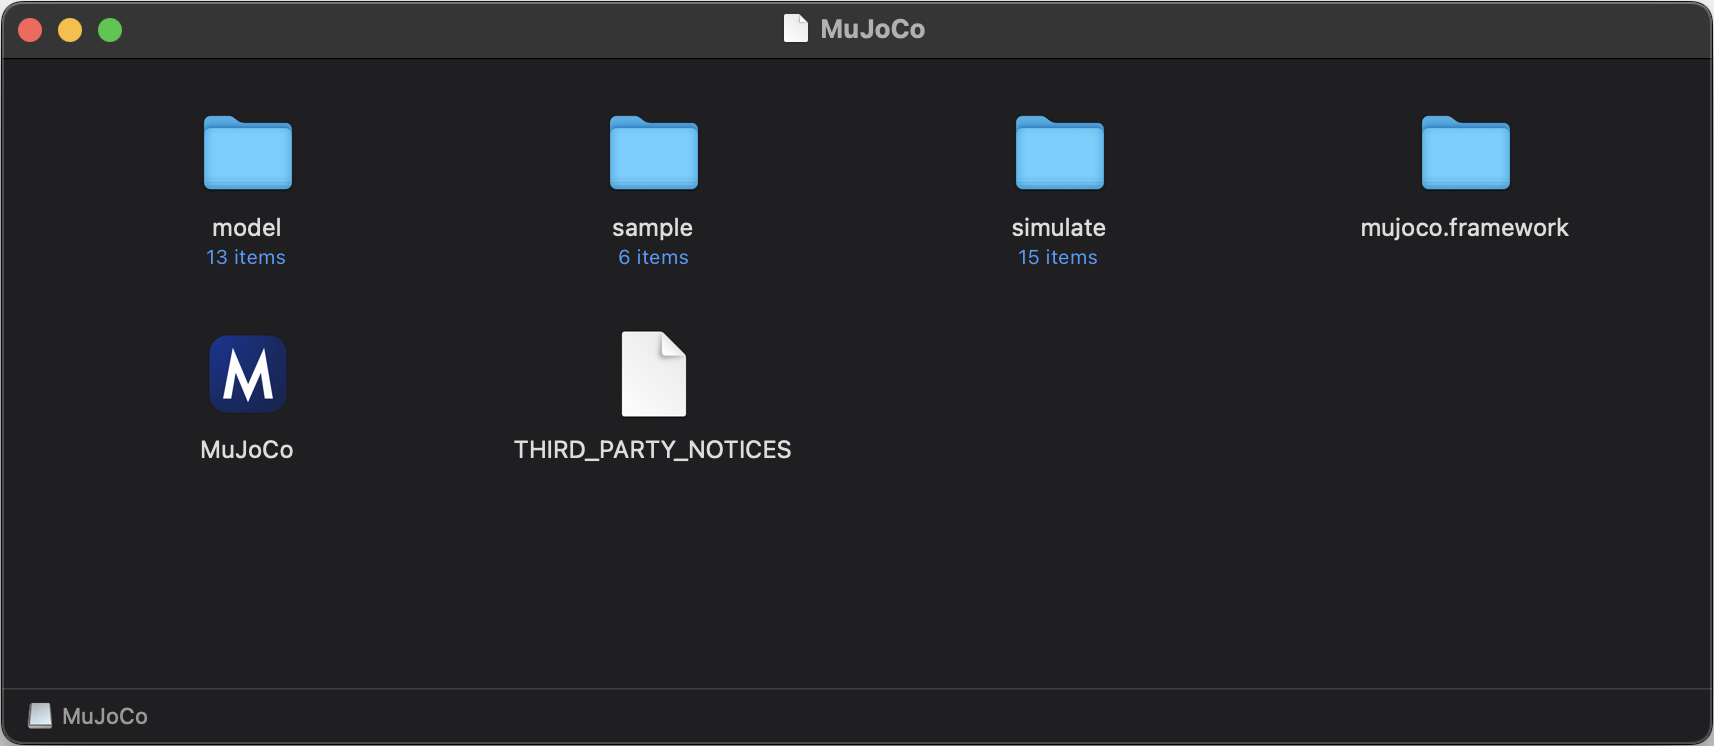
Select a folder of your choice and move all contents from the .dmg to that folder.
This folder will serve as your working directory, and will be referred to as such throughout the rest of this guide.
2. Setup Conda
2.1 Install Conda
Refer to the official Miniconda Installation Guide if needed.
Run the following commands in your terminal to install Miniconda:
> mkdir -p ~/miniconda3
> curl https://repo.anaconda.com/miniconda/Miniconda3-latest-MacOSX-arm64.sh -o ~/miniconda3/miniconda.sh
> bash ~/miniconda3/miniconda.sh -b -u -p ~/miniconda3
> rm ~/miniconda3/miniconda.sh
> source ~/miniconda3/bin/activate
2.2 Configure Conda Channels
Add the conda-forge channel for reliable package versions (copy and run in terminal):
> conda config --prepend channels conda-forge
2.3 Create and Set Up Virtual Environment
> conda create -n robosuite python=3.10
> conda init --all
> conda activate robosuite
> conda install mujoco
> python -m pip install mujoco
Note: You must run
conda activate robosuiteEVERYTIME you open a new terminal session.
To avoid repeating this, addconda activate robosuiteto your shell configuration file (e.g., ~/.bashrc or ~/.zshrc).
3. Install Robosuite
This section follows the “Install from Source” method described in the official robosuite documentation.
3.1 Download and Organise Robosuite
- Download the source code: robosuite v1.5.1 ZIP Archive
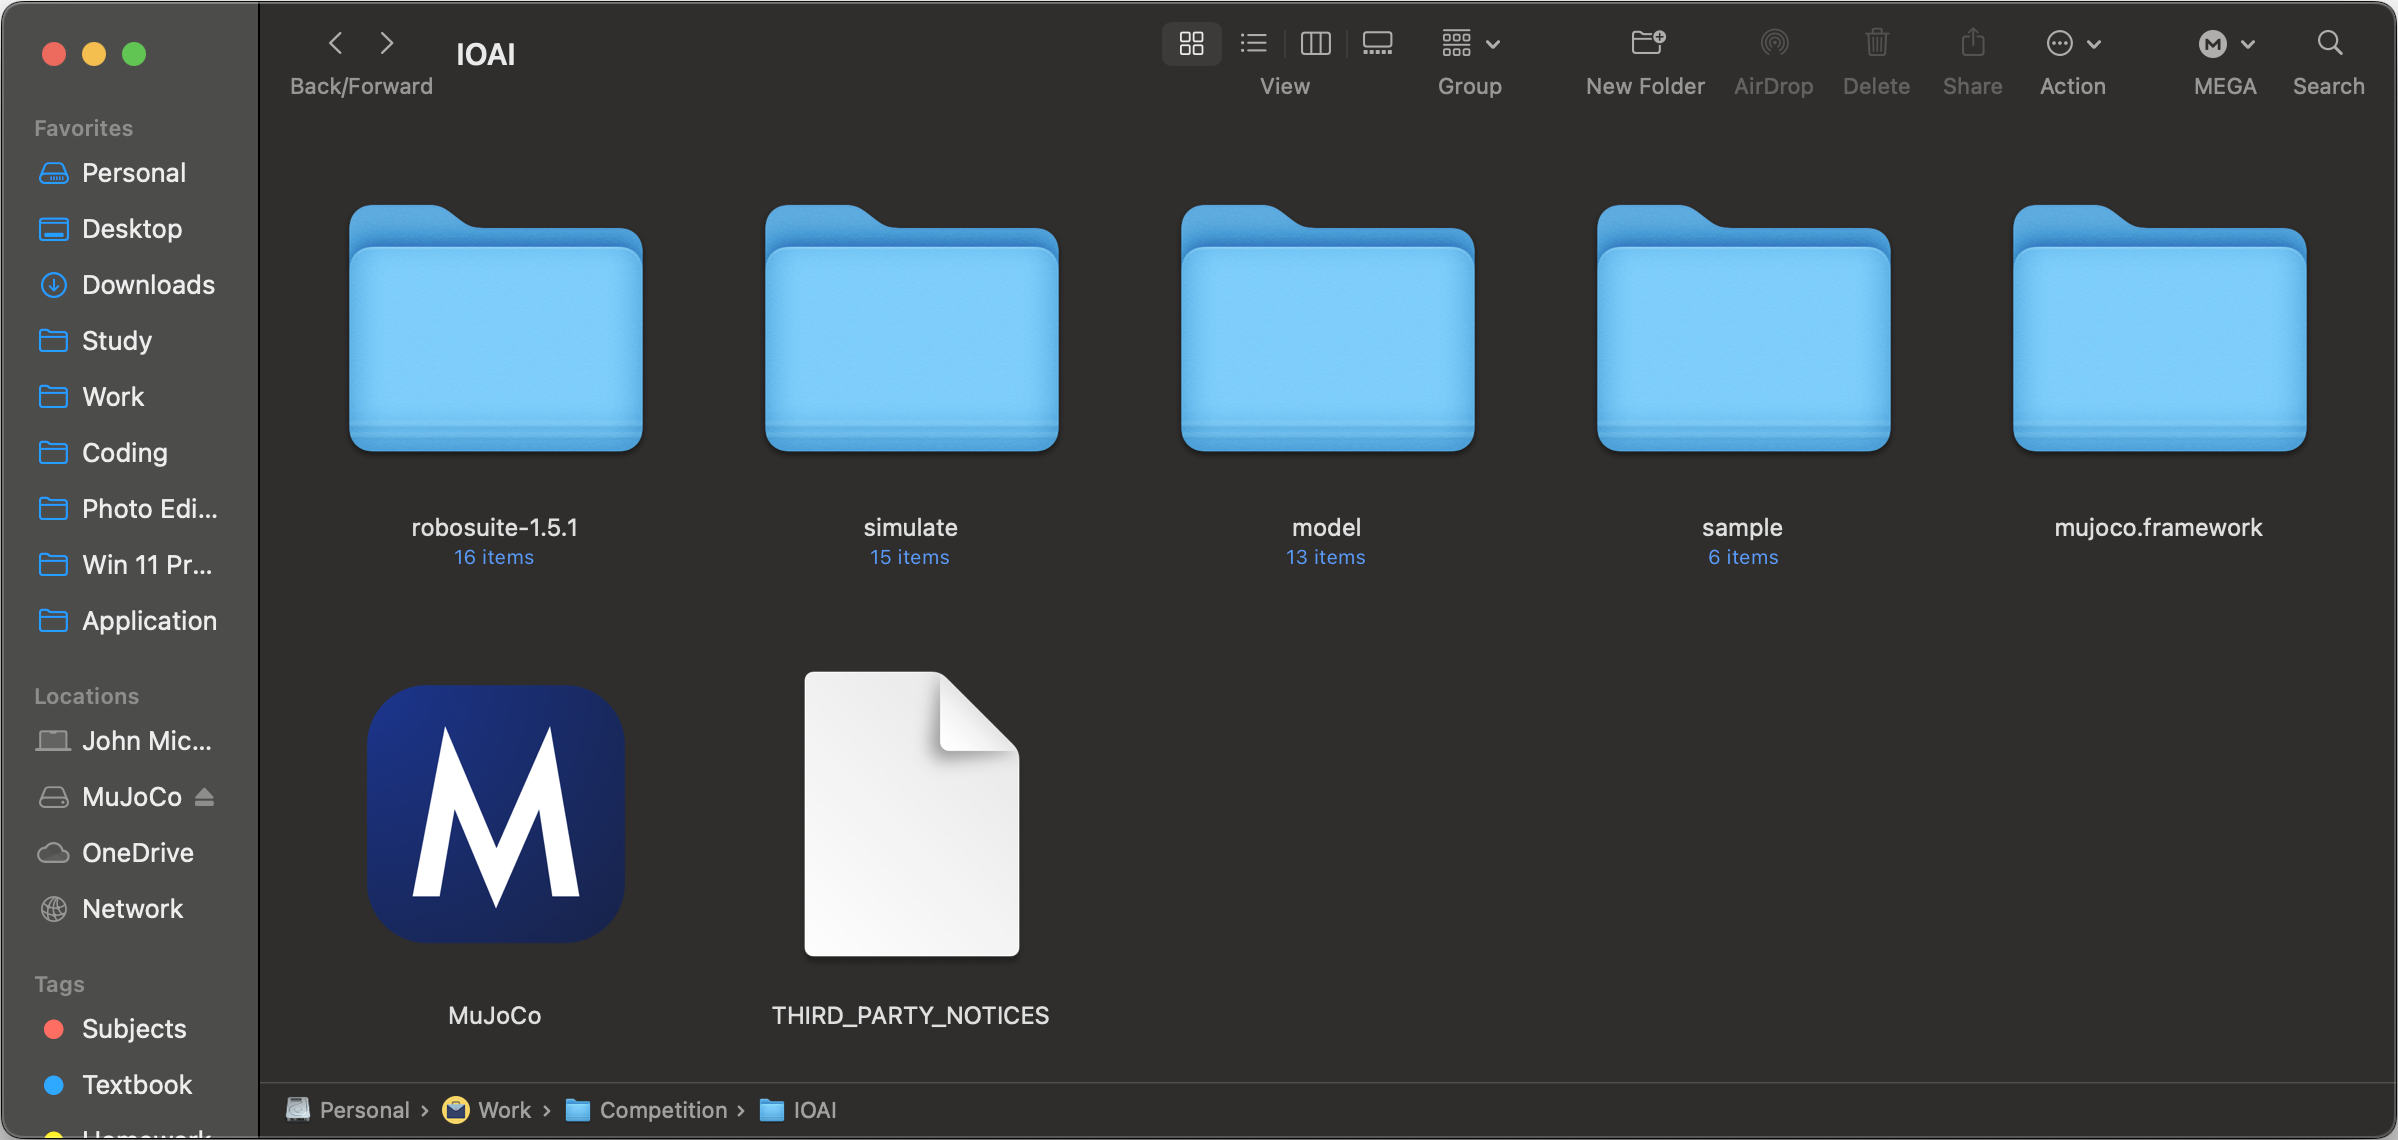
- Unzip the archive and move the extracted folder into your working directory.
Your working directory should now contain the following structure:
3.2 Install Dependencies
Open a terminal inside the robosuite-1.5.1 directory.
- First, locate your mjpython (only macOS uses this) interpreter:
> which mjpython
- Copy the output path. Then, set up an alias:
> alias mjpython = "the result of the last command"
- Install robosuite dependencies:
> mjpython -m pip install -r requirements.txt
> mjpython -m pip install -r requirements-extra.txt
Note: You must run
alias mjpython = "the result of the last command"EVERYTIME you open a new terminal session.
To avoid repeating this, addalias mjpython = "the result of the last command"to your shell configuration file (e.g., ~/.bashrc or ~/.zshrc).
4. Test Your Environment
To verify the setup, navigate to your working directory and run a demo:
> cd robosuite-1.5.1
> mjpython robosuite/demos/demo_device_control.py --device keyboard
NOTE: You may need to give Terminal full keyboard access.
Congratulations! Your environment is now successfully configured.